
YouTube Editing for Beginners: One Workflow That Actually Works
Your first video will take you somewhere between 8 and 20 hours to edit. That number sounds terrifying, and it should - but here's the thing: that's completely normal, and the second video will take half as long. The tenth will feel like nothing. The problem is that most beginners spend hours on the wrong things before they even get to actual editing. Software debates, tutorial rabbit holes, "which microphone" forums. Let's skip all of that.
This is the workflow I'd give anyone starting from zero. (One practical note before you start: when you inevitably need to save 10 DaVinci tutorials for "later," YouTube Bookmark Pro's Library - full disclosure, our product - saves videos with notes right from the sidebar. "Color grading basics - 4:20" as a note beats 10 open tabs you'll never sort through.)

The editing setup doesn't matter much. The workflow does.
Step Zero: Pick a Software and Stop Debating It
Here's the decision tree, simplified:
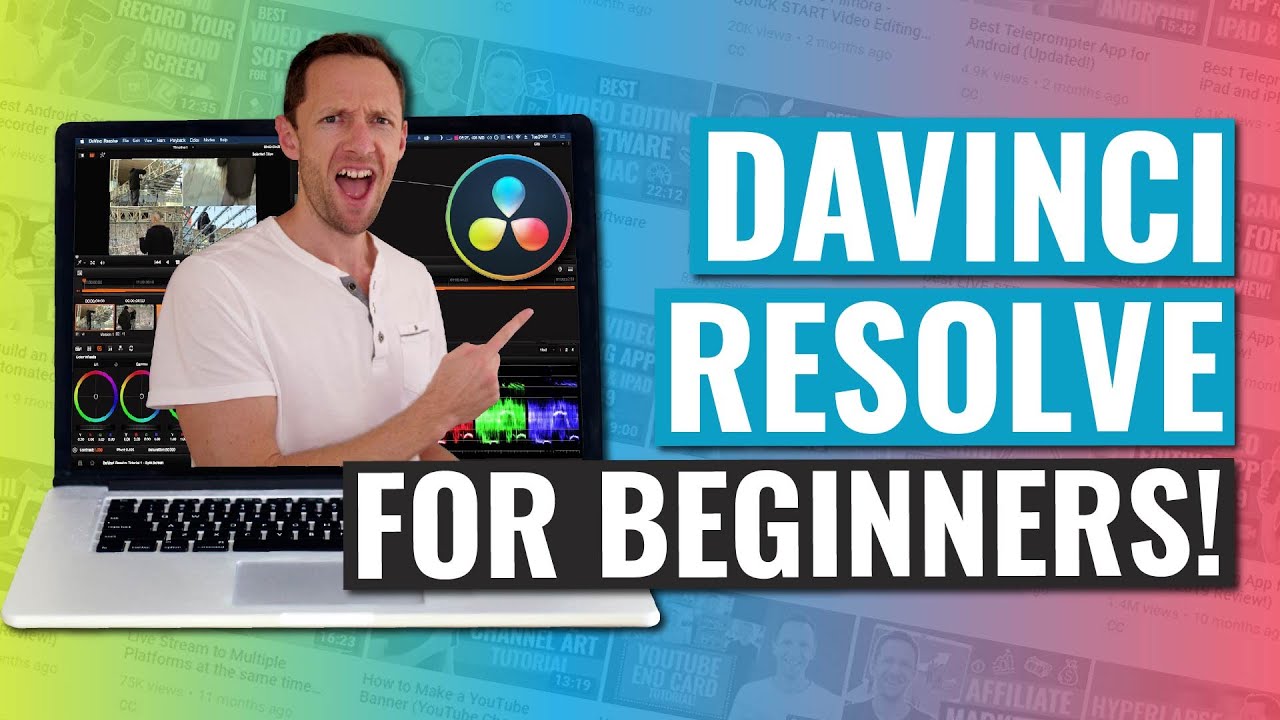
My recommendation is DaVinci Resolve. Not because it's the "best" in some abstract sense, but because it's the software you'll still be using when you actually know what you're doing. Blackmagic Design keeps the free version genuinely useful - the paid Studio upgrade is $295 once and most creators never need it.
The learning curve will cost you maybe an extra 3-4 hours on your first video. Over 50 videos, that's nothing.
The Workflow: Seven Steps, No Detours
This is linear on purpose. Don't skip steps, don't reorder them. The sequence matters.
-
1
Import everything Drag all your footage, audio, and music into a single project bin. Label your primary takes. Don't agonize over organization yet - just get it all in.
-
2
Rough cut Keep only usable takes. Aim for about 1.5x your intended final length. If your target video is 10 minutes, your rough cut should land around 14-15 minutes. This gives you material to work with without drowning in footage.
-
3
Fine cut Cut dead air, long pauses, filler words. The rule of thumb: remove any silence over 0.5 seconds. Remove "um," "uh," "like," and "you know" wherever you can do it without creating a weird jump. This single step is responsible for 80% of a video's perceived quality.
-
4
B-roll Layer footage over talking-head sections to break up the visual. It doesn't need to be professionally shot - screen recordings, product shots, stock footage. The goal is visual variety. Every 3-4 seconds of the same shot starts to feel static.
-
5
Color grading Pick one LUT or preset and apply it consistently across the video. Don't try to master color theory on your first upload. Find a free LUT pack, pick one you like, and use it for the next 20 videos. Consistency matters more than perfection.
-
6
Audio mixing Music: -20 to -25 dB. Voice: -12 to -6 dB. If you have to choose between music and voice clarity, voice wins every time. One of the most common beginner mistakes is music that competes with the speaker.
-
7
Export H.264, 1080p minimum (4K if your footage supports it). Use the YouTube preset in DaVinci Resolve or iMovie. Don't overthink the export settings - the platform will re-compress your video anyway.
Your first video will not be good. That's not a problem - it's the prerequisite for the second one.
Jump Cuts: You're Already Overthinking This
A lot of beginners are worried about jump cuts. They look abrupt. They feel amateurish. But here's the honest math: a jump cut is a 0.2-second visual jolt. The alternative - leaving a 3-second pause in - costs you viewer attention for 3 full seconds, and experienced creators will tell you that dead air is the silent killer of retention.
Jump cuts done right are actually invisible. Add a subtle zoom between cuts (punch in 2-3%), cut on a beat in the music, or use a quick B-roll clip to bridge them. The goal isn't to eliminate the cut - it's to give the viewer's eye something to track during the transition.
Justin Brown's complete beginner tutorial is probably the best free DaVinci Resolve resource available. I'd bookmark it for the audio mixing section alone.
Pacing: The Rule Nobody Teaches
Pacing is not about speed. It's about change. Your viewer's brain is constantly scanning for new information. When nothing changes - same shot, same angle, same everything - attention starts to wander.
The rough guideline: aim for a new visual element every 3-4 seconds for high-energy content, and up to 6-8 seconds for calm or educational material. "New visual element" can be a cut to B-roll, a zoom, a graphic, or even a significant speaker movement. It doesn't have to be a hard cut.
- Tutorial / explainer: New shot every 5-7 seconds
- Vlog / talking head: New shot or B-roll every 3-5 seconds
- Shorts / high energy: New shot every 1-2 seconds
- Interview / podcast: Cut on ideas, not a timer. But don't hold one shot for more than 10 seconds without a reason.
Common Beginner Mistakes (In Order of How Much They Hurt)
1. Over-relying on transitions. Wipes, spins, page turns - these are not production value. They're decoration on top of content that should speak for itself. Professional editors use cuts and occasionally dissolves. If you find yourself reaching for a "zoom whip" transition, ask what problem you're solving. Usually the answer is "I wanted the cut to look less abrupt" - which is a pacing problem, not a transitions problem.
2. Music too loud. This is the single most common technical mistake in beginner YouTube videos. Viewers watch on phones, laptops, and cheap speakers. If they can't hear your voice clearly over the music, they leave. Mix voice first, music last. Then listen back on earbuds and on a phone speaker. If the voice isn't obviously dominant in both scenarios, bring the music down more.
3. Not cutting pauses. Related to jump cuts above. Every pause over half a second is a gift you're giving your viewer's attention back to their phone. The fine cut step exists specifically to remove these. It feels aggressive when you're new. Watch your video back after - you'll notice the difference immediately.
4. Trying to color grade before the edit is clean. Color grading something with dead air and sloppy pacing is like painting a house that has structural problems. Fix the edit first. Color last.

Most of your viewers are watching on a phone, on a small speaker. Mix accordingly.
The fine cut - removing pauses and filler - is responsible for 80% of a video's perceived quality. Nothing else comes close.
The Time Honesty Section
Your first video will take 10 times longer than you expect. That is not a failure - it's the cost of learning a new skill from scratch. According to data from r/NewTubers discussions, most beginners report their first 10-minute video taking 15-25 hours start to finish. By video five or six, that number drops to 4-6 hours for the same length.
The skill is editing, not the video. Every hour you put into that first video is making the second one faster. Track your time anyway - not to stress about it, but to see the curve flatten. It will flatten.
One more thing: don't wait until the edit is perfect to publish. "Good enough to publish" is the actual standard. Your audience can't watch a video that's sitting on your hard drive because you spent three weeks trying to get the color grade right.
Publish. Repeat. The workflow gets easier every time.
Further viewing
More from trusted creator educators on the tools and workflow that make editing less painful — especially when you are starting out.

Further viewing
More from trusted creator educators on the tools and workflow that make editing less painful — especially when you are starting out.
Join the conversation